

Laptop Speaker Cleaner — Fix Muffled Sound & Remove Dust or Water
I have worked with hundreds of laptops over the years — HP, Dell, Lenovo, MacBook Pro, and more. The most common issue is always the same: muffled sound, low volume, or distorted audio. In most cases, the problem is simple — dust blocking the speaker grill, not a damaged speaker.
This laptop speaker cleaner uses high-frequency sound waves and vibration patterns to safely remove dust and water from your speaker. No tools. No repair shop. No risk. Just press play and restore clear audio in seconds.
The tool includes two modes — 💧 Water Eject for liquid removal and 📳 Dust Removal for debris buildup. It works completely online with no download required and supports all major laptop brands.
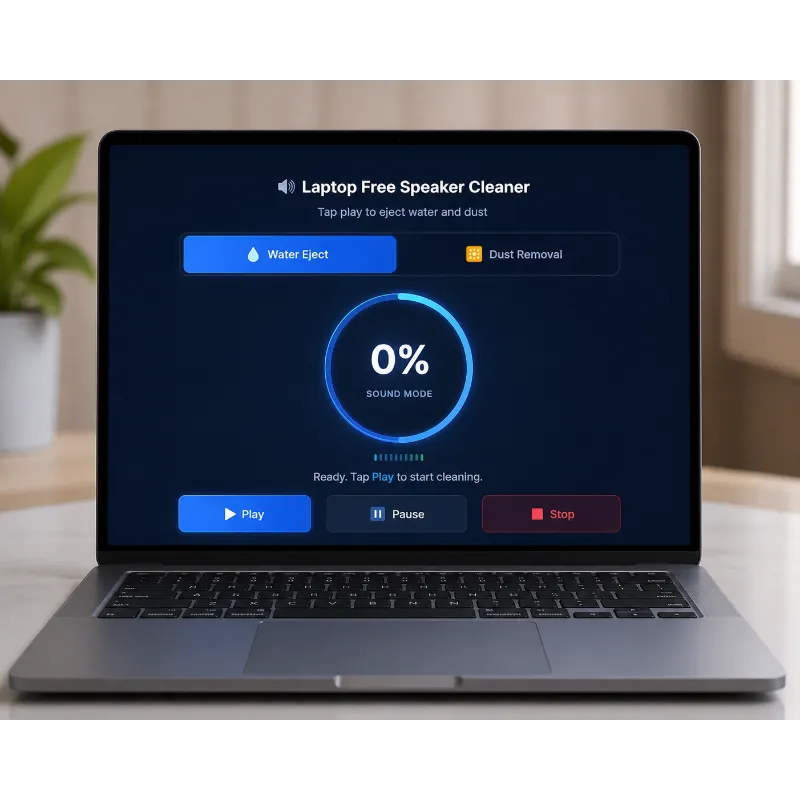
👉 Press Play below and clean your laptop speaker now — free, no signup needed.🔊 Free Laptop Speaker Cleaner
Tap play to eject water and dust
0%
Sound Mode
- Muffled or quiet laptop speaker? Dust is almost always the cause — not a broken speaker
- This tool has two modes — 💧 Water Eject for liquid damage and 📳 Dust Removal for debris buildup
- Set the volume slider to 100% before pressing Play — maximum volume means maximum vibration strength
- Press Play and watch the progress ring fill — wait for “✅ Complete!” before checking your speaker
- Need to stop mid-cycle? Press Pause — press Resume to continue from where you left off
- Got water in the speaker? Switch to Water Eject mode, hold the laptop speaker-side down, and act immediately
- Works on all brands — HP laptop, Dell laptop, Lenovo laptop, MacBook Pro, and gaming laptops
What Is a Laptop Speaker Cleaner?
A laptop speaker cleaner is a browser-based tool. It plays a specially designed audio cleaning sound directly through your speaker.
That sound creates strong sound vibrations inside the speaker grill. Those vibrations shake loose the dust, debris, and moisture trapped deep inside the speaker mesh.
This tool has two separate modes. Water Eject mode plays a high-frequency sound to push water out. Dust removal mode uses a vibration pattern to loosen and clear debris. Both modes work with simple play, pause, and stop control—no download needed.
This method is completely safe for your speaker membrane and internal components. It works on all major brands—HP laptops, Dell laptops, Lenovo laptops, MacBook Pros, Asus, Acer, and more.
A speaker repair at a shop costs between $50 and $150. This web-based utility is free. Try it first before spending anything.
Why Does My Laptop Speaker Sound Muffled?
This is the most common question people ask. Here is the simple answer.
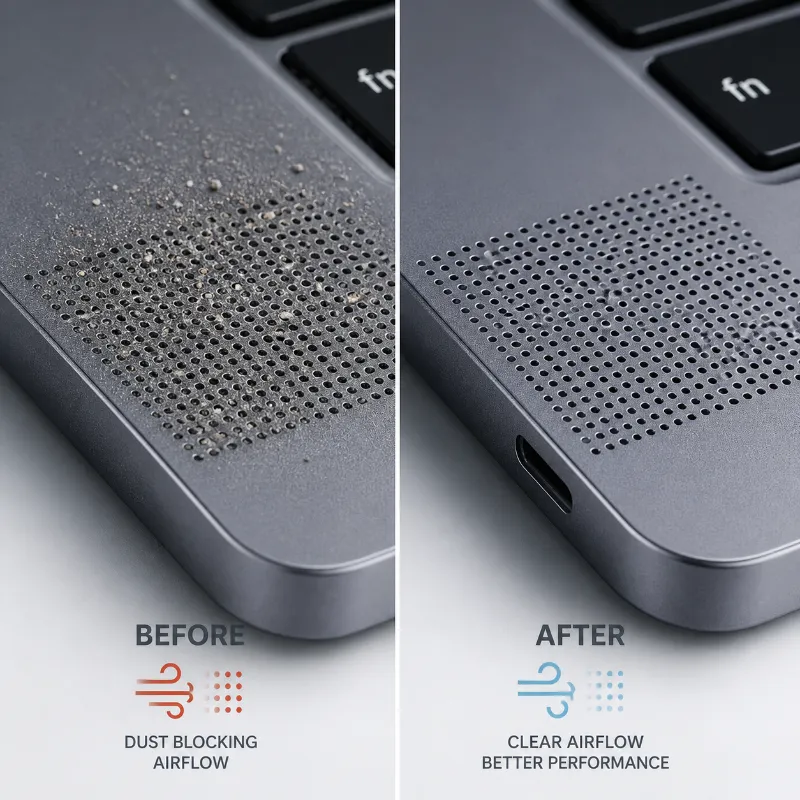
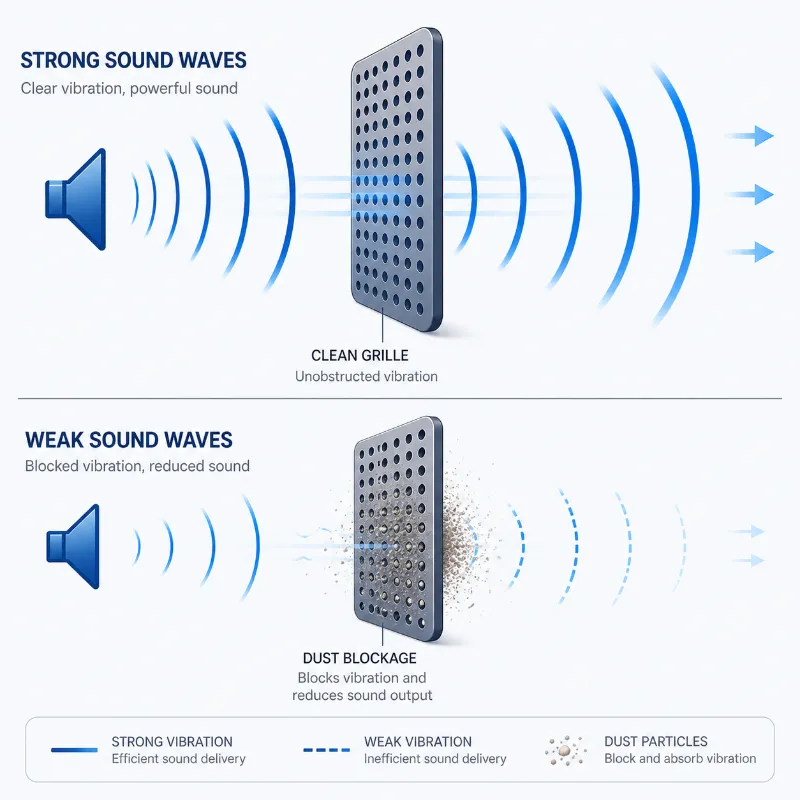
Your speaker works by vibrating a thin speaker membrane. That membrane pushes air outward to create sound. When dust and debris build up inside the speaker grill, they block that airflow.
Blocked airflow means weaker membrane vibrations. Weaker vibrations mean quieter, muffled audio output. It is not a broken speaker — it is a blocked one.
Speaker dust removal almost always fixes it. Switch to Dust Removal mode and press Play — that is exactly what this tool is built to do.
If your audio dropped suddenly after a Windows or macOS update, that is usually a driver issue — not dust. Check your audio settings first. But if the muffling came on gradually over weeks, dust buildup is the cause.
Why Do You Need to Clean Your Laptop Speaker?
Most users ignore speaker maintenance until the sound quality drops badly. Using a laptop speaker cleaner regularly prevents these common problems.
Sound Quality
Longevity
Hygiene
Aesthetics
How Does Dust Affect Your Laptop Speaker's Performance?
Dust is not just a cosmetic issue. It directly damages how your speaker functions.
Sound Quality Degradation
Volume Reduction
Permanent Damage
Got Water in Your Laptop Speaker? Act Right Now
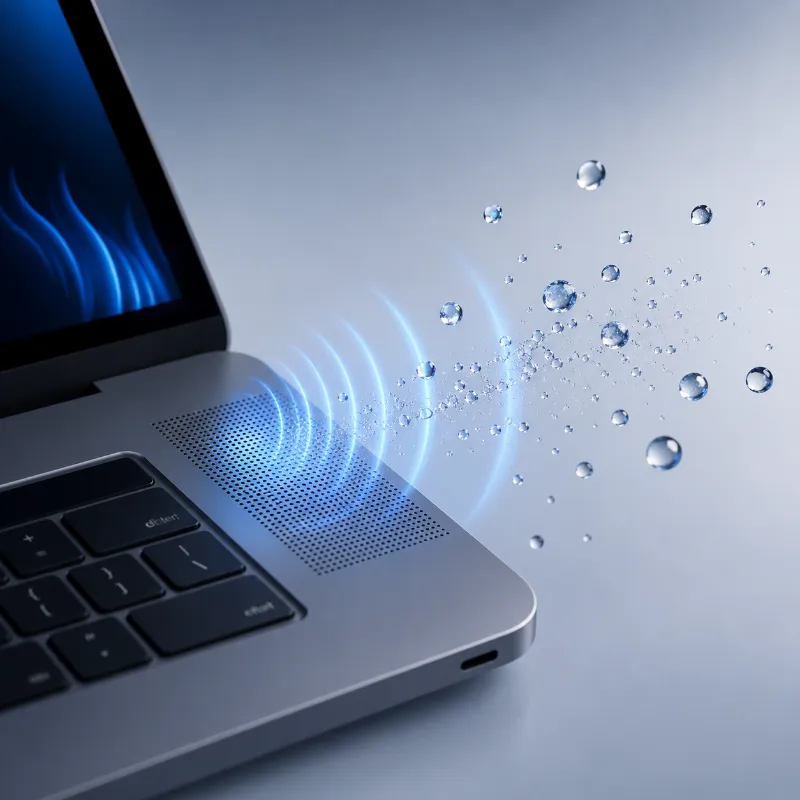
Move fast. Water causes damage within minutes of contact with speaker components. Here is the water removal process — do this immediately.
Water Eject Mode: Step-by-Step
Laptop Speaker Cleaner Process: Remove Dust Step by Step
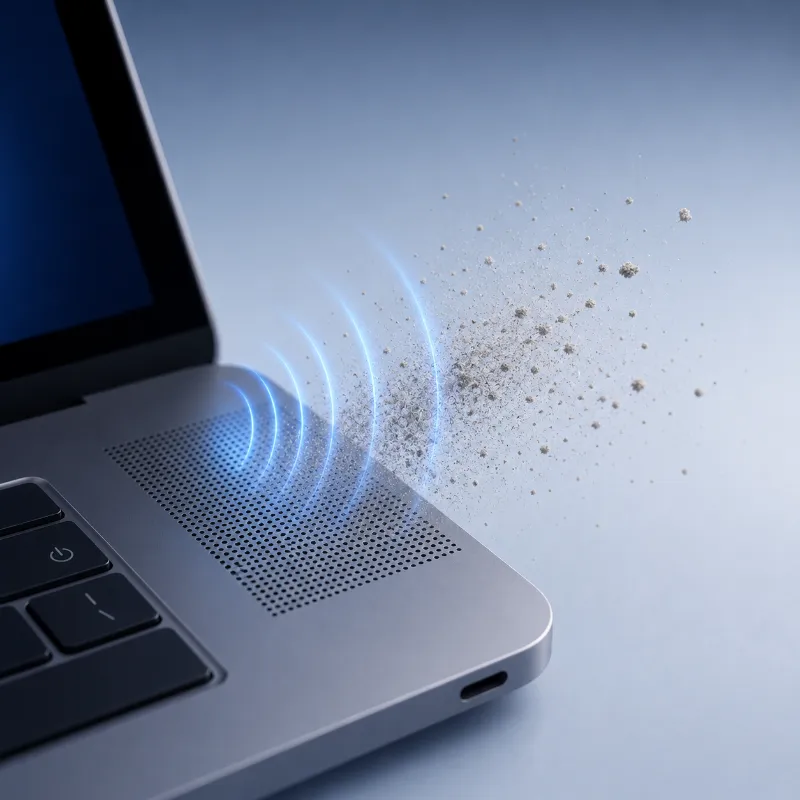
Follow these steps to remove dust and debris from your laptop speaker using the Dust Removal mode.
Dust Removal Mode: Step-by-Step
How to Use the Laptop Speaker Cleaner
Here is the short version for anyone who needs a fast fix right now:
- Select your mode—Water Eject for liquid, Dust Removal for debris
- Place your laptop on a flat, hard surface—or hold the speaker-side down for water removal
- Drag the volume slider to 100% to maximise vibration strength
- Press Play and watch the progress ring move from 0% to 100%
- Wait for “Complete!"—do not stop the cycle early
- Press Play Again once or twice if the audio is still muffled or crackling
This laptop speaker cleaning method is best for light to moderate dust buildup and fresh water exposure. It is safer than inserting any tool into the speaker grill and costs nothing.
What to Expect: Before and After Cleaning
Not every audio problem is caused by dust or water. Use this table to see whether this tool will help your situation.
| Your Situation | Mode to Use | Will It Help? |
|---|---|---|
| Sound gradually got quieter over weeks | 📳 Dust Removal | ✅ Yes — almost certainly dust buildup |
| Speaker muffled after months of use | 📳 Dust Removal | ✅ Yes — classic speaker dust removal case |
| Got water in the speaker recently | 💧 Water Eject | ✅ Yes — act immediately |
| Crackling sound after liquid exposure | 💧 Water Eject | ✅ Yes — repeat 2 to 3 cycles |
| Laptop was dropped, and speaker stopped | 📳 Dust Removal | ⚠️ Try cleaning first, then check app audio settings |
| Sound dropped right after a Windows update | Either mode | ⚠️ Check audio driver settings first |
| One speaker works, one does not | 📳 Dust Removal | ⚠️ Try cleaning — may be debris on one side |
| Crackling that does not stop after 3 cycles | — | ❌ Likely hardware damage — see a technician |
| The laptop was dropped, and the speaker stopped | — | ❌ Physical damage — sound waves cannot fix this |
Laptop Speaker Cleaning: Brand-Specific Tips
Different laptops have different speaker designs. Here is a quick brand-by-brand guide for the best results.
| Laptop Brand | Speaker Location | Best Tip with This Tool |
|---|---|---|
| HP Laptop | Bottom edge | Tilt slightly forward, run Dust Removal mode at 100% |
| Dell Laptop | Bottom or sides | Run at full volume; repeat 2 cycles for the best result |
| Lenovo Laptop | Bottom or front — varies by model | Check your model’s grill location before tilting |
| MacBook Pro 14″ / 16″ | Side-facing tweeters | Run at full volume; repeat 2 cycles for best result |
| MacBook Air M1/M2/M3 | Keyboard-adjacent, top-firing | Hold flat on surface; 2 to 3 Dust Removal cycles |
| Asus / Acer | Bottom-mounted | Angle device slightly downward — gravity assists |
| Samsung | Bottom edge | Clean monthly; run Dust Removal mode preventively |
| ASUS ROG / Razer / MSI / Legion | Bottom and side vents | Use Dust Removal every 1 to 2 weeks — high dust accumulation |
Gaming Laptop Speaker Cleaning
Gaming laptops need more frequent cleaning than regular laptops.
Gaming laptops run powerful GPUs and large cooling fans. Those fans push high volumes of air through the device during long sessions. More airflow means more dust enters the speaker grill faster than on a regular office or student laptop.
Devices like the ASUS ROG, Razer Blade, MSI Stealth, and Lenovo Legion are all affected. If you game for several hours daily, your speaker grill can get clogged within days—not months.
For gaming laptops, switch to 📳 Dust Removal mode and run two to three full cycles every one to two weeks. This keeps audio output sharp during gameplay, streaming, and voice chat.
How Often Should You Clean Your Laptop Speaker?
The answer depends on how you use your device. Here is a practical guide.
| Usage Type | Recommended Mode | Cleaning Frequency |
|---|---|---|
| Office work and video calls | 📳 Dust Removal | Once a month |
| Student use — lectures and media | 📳 Dust Removal | Once a month |
| Dusty environment | 📳 Dust Removal | Every 2 weeks |
| Gaming laptop — heavy daily use | 📳 Dust Removal | Every 1 to 2 weeks |
| Rarely used or stored laptop | 📳 Dust Removal | Every 3 months |
| After any liquid or water exposure | 💧 Water Eject | Immediately |
If you use your laptop daily for work calls, run the Dust Removal mode once a month. A muffled speaker on a Zoom call sounds unprofessional—and a full cleaning cycle takes less than 60 seconds.
Importance of Using a Laptop Speaker Cleaner
Using a laptop speaker cleaner regularly keeps your audio sharp. It prevents the slow buildup that causes muffled sound, distortion, and volume reduction.
Manual cleaning methods are risky. Inserting tools into the speaker holes can tear the speaker membrane. Using liquids can cause corrosion. Compressed air used incorrectly can push debris deeper into the grill.
This online speaker cleaner avoids every one of those risks. It is contact-free, non-invasive, and works as an HP laptop speaker cleaner, Dell laptop speaker cleaner, Lenovo laptop speaker cleaner, and MacBook Pro speaker cleaner — all in one browser-based tool with no download required.
What Sets a Good Laptop Speaker Cleaner Apart?
Not all online speaker cleaners are equal. Many online tools play random sounds that do not create useful vibrations. Some force you to download an app. Others use aggressive frequency (Hz) levels that can stress the speaker membrane.
A good laptop speaker cleaner should offer the following:
- Two targeted modes — separate tracks for water ejection and dust removal, not one generic sound
- Volume control — a slider so users can set the exact vibration strength they need
- Real-time progress — a progress ring so you know when the cleaning cycle is complete
- Pause and Resume — so you can stop mid-cycle without losing progress
- Browser-based access — no download tool, no sign-up, no installation required
This combination is what separates a real speaker cleaner tool from a fake one.
Why Should You Choose a Laptop Speaker Cleaner?
Removal of Dust and Debris
Water Ejection Without Risk
Maintaining Sound Quality
Optimal Functionality
Cost-Effective Maintenance
DIY Laptop Speaker Repair: When to Try It and When to Call Professionals
When to Try the Laptop Speaker Cleaner
You can safely use this online speaker cleaner when:
- Sound has gradually become lower or quieter than usual
- Audio sounds muffled or slightly distorted
- There is crackling after liquid exposure
- No visible physical damage is present on the device
These are maintenance problems. The speaker cleaner tool handles them well. Select the right mode, run a full cycle, and check the result.
When to Call Professionals
Stop and seek expert help if:
- The crackling sound does not improve after three or more cleaning cycles
- One speaker stops producing sound entirely
- The laptop was exposed to heavy liquid damage or submerged in water
- Audio problems continue after cleaning and after checking driver settings
This no-download tool is excellent for maintenance. It is not designed to fix hardware failure or a torn speaker membrane. Know the difference before deciding.
Benefits of Using Our Laptop Speaker Cleaner
Improve Laptop Speaker Sound
Free Laptop Speaker Cleaner Tool
Two Dedicated Cleaning Modes
Works Entirely Online
Safe Contact-Free Cleaning Method
Works for All Brands
Features of Our Laptop Speaker Cleaner
Two Cleaning Modes
Volume Slider Control
Real-Time Progress Ring
Play, Pause, and Stop Controls
Instant Web Access
Supports Every Laptop Brand
Frequently Asked Questions (FAQs)
Final Thoughts from Someone Who Has Seen This Problem Hundreds of Times
After years of working with HP, Dell, Lenovo, and MacBook Pro devices across remote work setups, classrooms, and gaming rigs, the pattern is always the same. People put up with muffled audio for months. They assume the speaker is broken. In nearly every case I have handled personally, one full dust removal cycle was all it took to restore clear, full audio. No repair shop. No cost.
Keep your speaker grill clean, and your audio output will stay sharp. Use the Dust Removal mode once a month for daily work or study. Game heavily? Run it every week. Got water in the speaker? Switch to Water Eject mode right now—the first few minutes are the most important window you have.
Still Struggling After Cleaning?
If your laptop speaker still sounds muffled after cleaning, you can also follow the official HP sound troubleshooting guide to check system-level audio issues before assuming hardware damage.
For Windows users: open Device Manager, expand Audio Inputs and Outputs, right-click your speaker device, and select Update Driver. An outdated audio driver is a common cause of muffled and distorted sound—especially after system updates.
For MacBook Pro users: go to System Settings, then Sound, and confirm the correct output device is selected. Check that no audio enhancements are interfering with playback.
If the problem continues after both steps, consult a certified technician. But for most everyday audio problems—muffled sound, volume reduction from dust, or water in the speaker grill — this free laptop speaker cleaner will fix it in under 60 seconds.